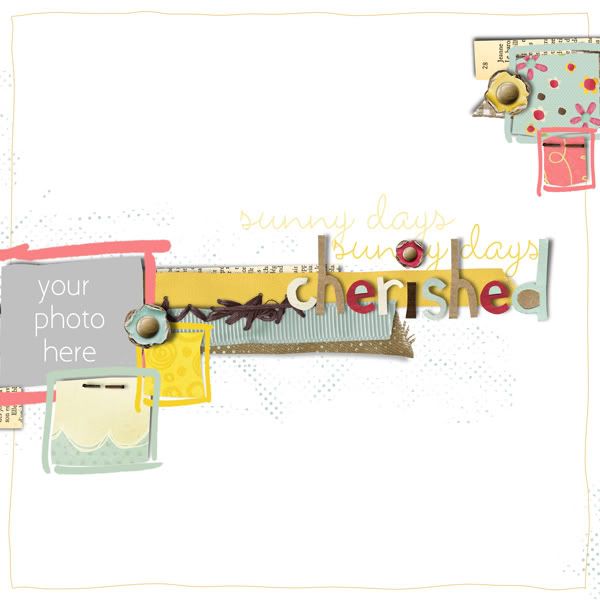
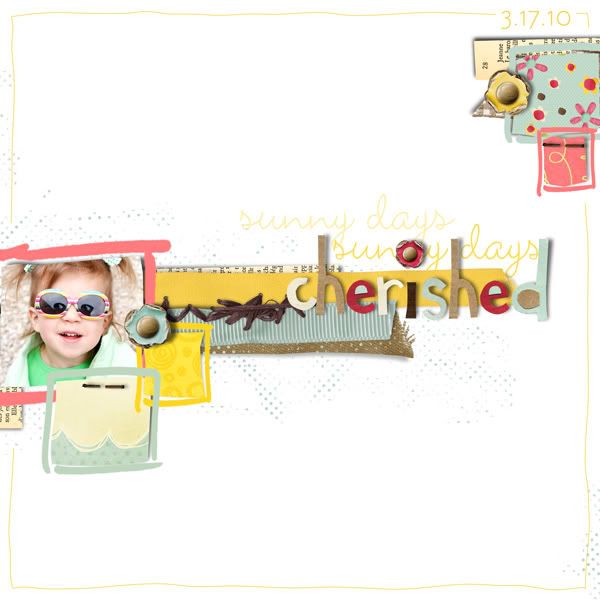
Thursday, April 1, 2010

Blog Hop!!!

Hiya all! I hope you are having fun on the blog hop! I know there are some AMAZING finds along the way! I have a QP for you from the AMAZING April BYOC! :)
As well as my favorite Outer Limits from Karah Fredricks!
Here is a page I created with it.
I hope you enjoy!!!!
Try the first link first until that expires.. etc.


Now hop on over to one of my FAVORITE scrappers... Eryn for your next goodie!!! :)

Sunday, March 14, 2010

The one with the Rainbow Play-doh!

Hiya all! For some odd reason I LOVE rainbow crafts this time of year!!! I had posted a picture on FACEBOOK with pictures of our rainbow play-doh we made with our Pre-K friends and got tons of requests for a mini tutorial! Sorry gals... I didn't think that far ahead so I don't have step by step pictures, but I can do my best to explain the process to you! :)
First off, you must start out with a tried and true play-doh recipe!

Play Dough Recipe:

1 cup white flour
1/2 cup salt
2 tablespoon cream of tartar (find it in the spice section)
1 tablespoon oil
1 cup water
food coloring

Combine all the ingredients over MED heat in a pot. Some recipes will tell you to cook this until its super thick and looks like... well like PLAY-DOH! No DON'T do it!!!!! Go against all your natural instincts and take it off the heat the moment it looks like mashed potatoes. If you cook it too long it will dry out and will be super crumbly. Once you take it off the heat knead it for about 5 minutes on a floured surface. You will think to yourself "OH NO I pulled it off the heat to early its never going to turn out" THAT is how you know it will be perfection in the end!!!!

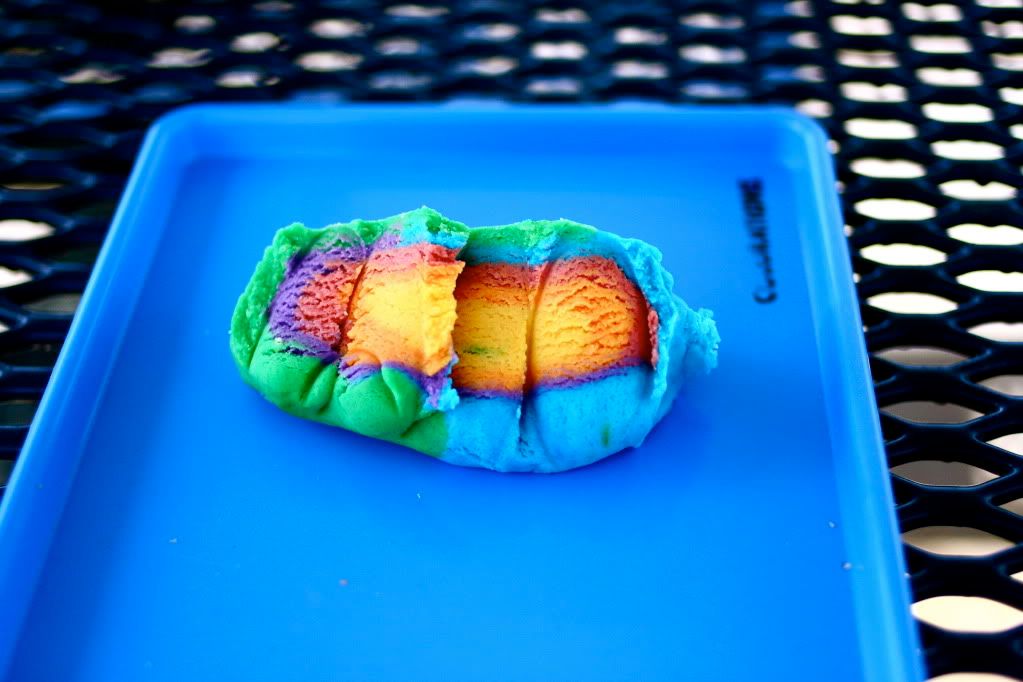
Okay now down to this rainbow business! I was making rainbow play-doh for 25+ kids. I wanted each child to have their own little rainbow and not have to use anyone elses " rain cloud " what we called it once all the colors mixed. So I doubled this recipe. Once I had it all kneaded out I divided it into 6 (I believe rainbows are supposed to have 7 colors but you get the idea!) different balls of dough. To each ball I added a different color of the rainbow and kneaded until it was bright and fun!!

Next...I rolled out each ball into a long strip ( I would estimate about 6 inches wide by 16 inches long). Once I had all the balls rolled out I put them right next to each other in a long line. I arranged them in order I wanted the colors of my rainbow ( apparently my rainbow is backwards, but that is perfectly fine with me!) Then I rolled it up like one long cinnamon roll. Once we were ready to play I simple cut off a portion for each child, every child had a slice with all the colors! It was perfect!


Enjoy! If you make this PLEASE POST PICS and send me the link! I can't wait to see your rainbows!!!!

Sunday, February 21, 2010

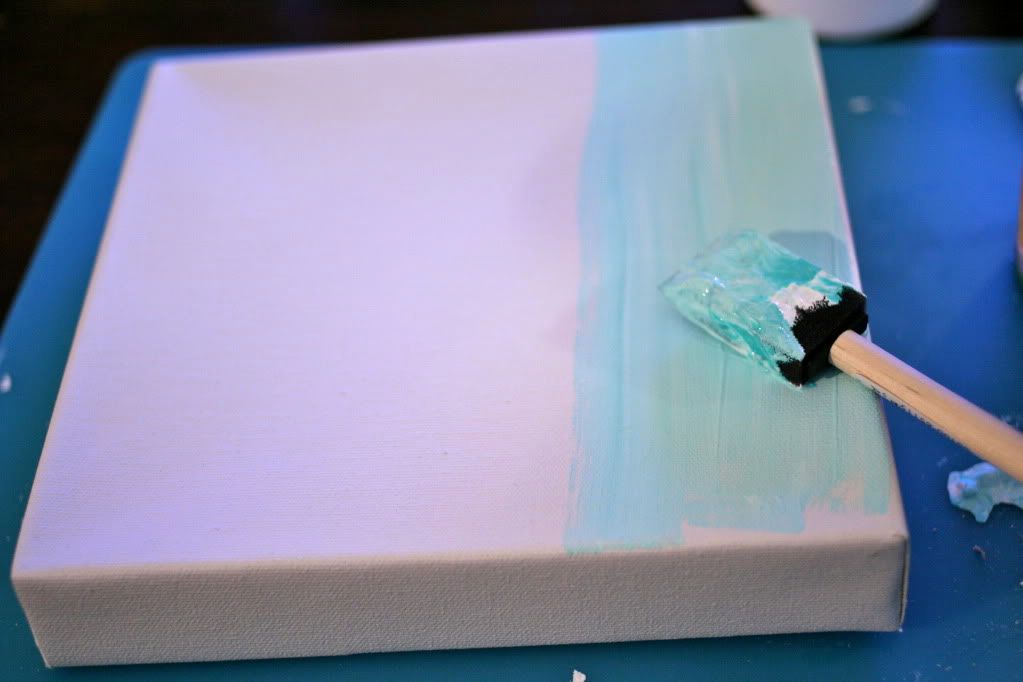
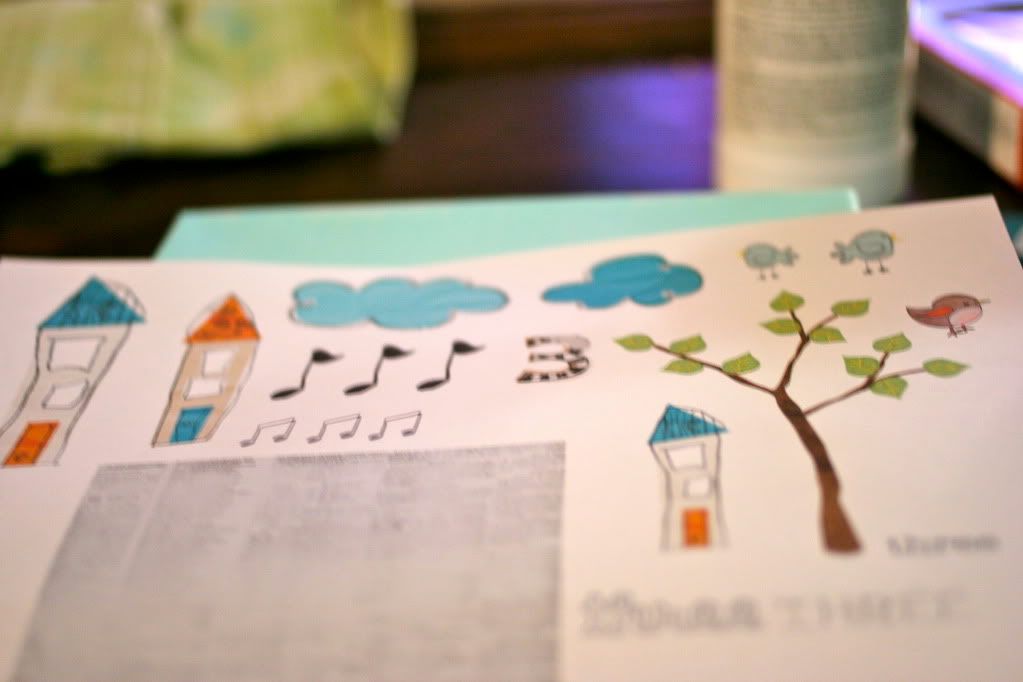
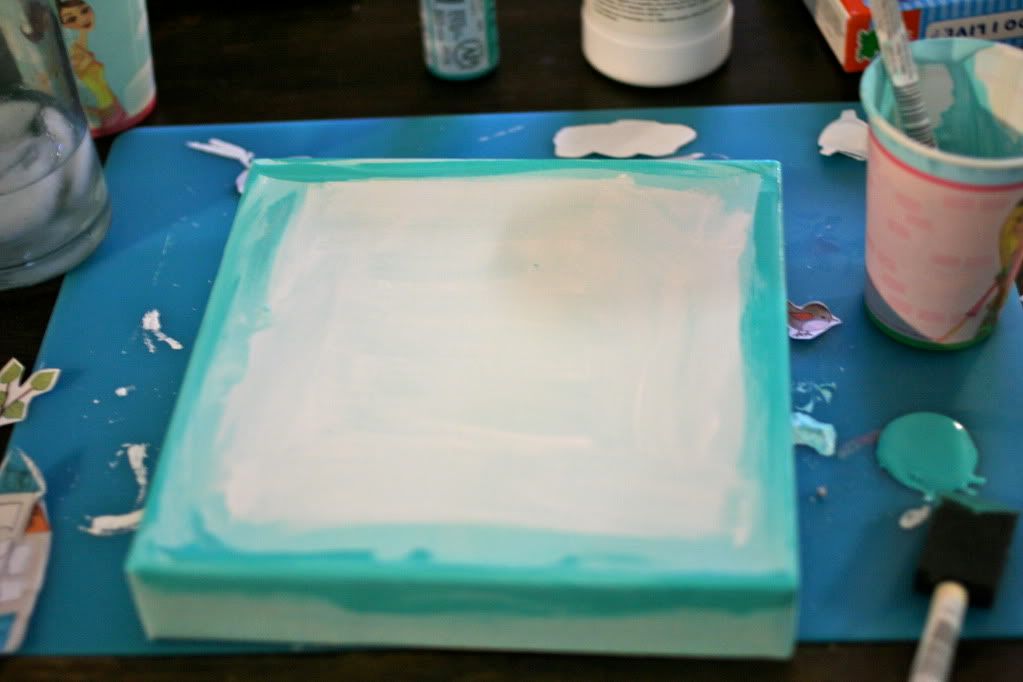
The one with the Art Journal tutorial....

Snow Alert must interrupt this tutorial!
This was 24 hours ago
And this is what we woke up to this morning....
(sorry these are straight off the camera, no editing)
Crazy NV weather! :)
okay... now back to our regularly programed blogging...

As I have been exploring more and more into the hybrid world of digital scrapbooking, a couple people have been asking for some tutorials on projects. I don't feel like I am the best at tutorials but I will sure give it a shot! :)
As I have been searching the web lately I have been very inspired by art journals. They are a visual way of expressing you feelings, what is going on in your life or just plain ole' simple snapshot of your day. They usually involve some assortment of mixed media, which is always fun to dive into!
For my project I used an 8x8 canvas, acrylic paint, gesso, sharpies, modge podge, and some digital products from my favorite store THE LILYPAD!
I am not the type of artist that can just sit down and create, wherever the paint brush leads. I usually think about my project before hand and have a clear vision of the direction I want to take. Although if the project takes a turn during the creation process that is okay too!
This hasn't been the easiest couple of months for our little family but we have all really embraced this little song to help cheer us up.
So that is the title of this piece
P.S. Please excuse the poor lighting.... I had to wait until the girls went to bed for this one! :)
I applied a color wash of acrylic paint/gesso to help seal the canvas and create a smooth surface.
While I waited for that to dry I cut out the digital products I planned on using for this kit.
* I usually drag all the items I want in pages and size them in there. I find this easier than using photoshop elements, and I can fit it all on one page.*
I then applied another layer of gesso to create a white space for my lyrics. The gesso acts as a primer and I only needed one layer to cover the teal on the bottom. I also added a bit more color to the sides for depth.
Next I wrote the lyrics from my inspiration in the middle. For this I used my trusty sharpie. I find that the sharpie works better on the gesso than on the regular acrylic paint.
I then began to apply my digital products. I used modge podge to apply them. They usually will wrinkle up a bit. I just smooth them out as they dry a bit more.
I am too cheap to buy actual stamps so I used puzzles from the dollar store! :)
After some smearing, glueing, & doodling I think I am done! :)

I had a TON of fun with this little project and did it all while my husband watched HEROS!

Here are the links to the goodies I used over at the PAD! :)


Thank you! Have fun creating!


Friday, February 5, 2010

The one with a new year - 2010!

I decided I didn't need to make a huge welcome back to my blog post. Not because I wanted to sneak back into the blogging world, but simply because things like that stress me out! So lets just pretend like we have all been here all along. Okay?
Just for fun lets do a little catch up!
J- I am so proud of him! He is currently in his second semester at TMCC! I think this might ACTUALLY be the time we get through this college thing! He is also working with youth through the boys and girls club.
S- Also in full time college and working with my Pre-K kids over @ JKLC and feeling VERY blessed there! Loving being on the CT @ The Lilypad, it has really encouraged my creativity.
j- Is in 2nd grade and loving every moment of it. This year she has also started in the girl scouts and thanks too all of you is rounding up some awesome cookie sales!
a- Doing great in preschool and thinks Mickey Mouse is ALL hers! ( Minnie who?) She is turning three soon,.... when did that happen?


Grammy K helped us with this fun project for Valentine's day it was super fun and super cheap! I just adore it!
P.s. Brighter= Brighten opps!


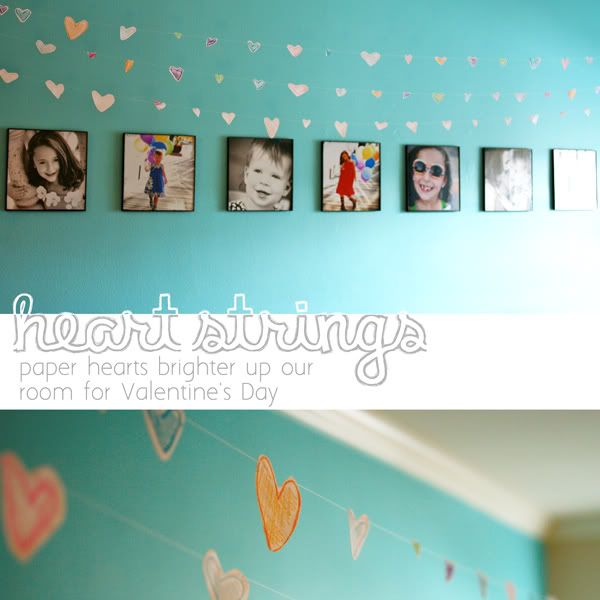
I am still learning flicker so the promised pictures are below! :)

I have some other fun Valentine's projects I will be posting in the next couple of days so keep a look out!

The artist in her


IMG_0882, originally uploaded by 4shanna.

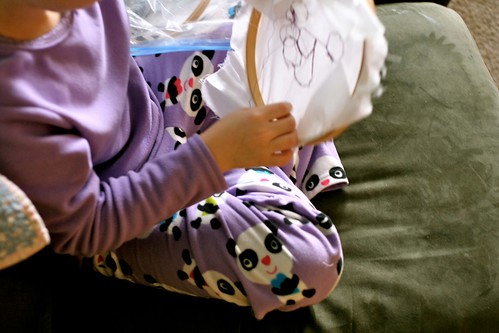
Jaden has really been into embroidery . She is currently creating a collection of all her favorite fruits. Here she is working on a piece she calls 'grapes" ;)